Curtain planning for an HDB flat is easiest before the ceiling, carpentry, electrical points and air-conditioning positions are fixed. The final fabric can wait, but the room should reserve suitable space, support and access for the treatment that may be installed.
The short version: decide the layers, heading, track position, stack-back, ceiling support and possible motor location before closing the renovation drawings. Confirm exact dimensions only when the site is ready for final measurement.
1. Begin with the window, not the curtain photograph
Record what actually moves around the opening. In an HDB flat that may include casement or sliding windows, handles, grilles, a service-yard door, built-in seating, full-height carpentry, an air-conditioning unit or furniture close to the glass. A curtain still needs a clear path when it opens and closes.
Take one straight-on photograph, one side view and the room's floor plan. Mark the surfaces that will remain after renovation. Early dimensions help the initial discussion, but they are not a substitute for final site measurement.
2. Decide what the room needs by day and by night
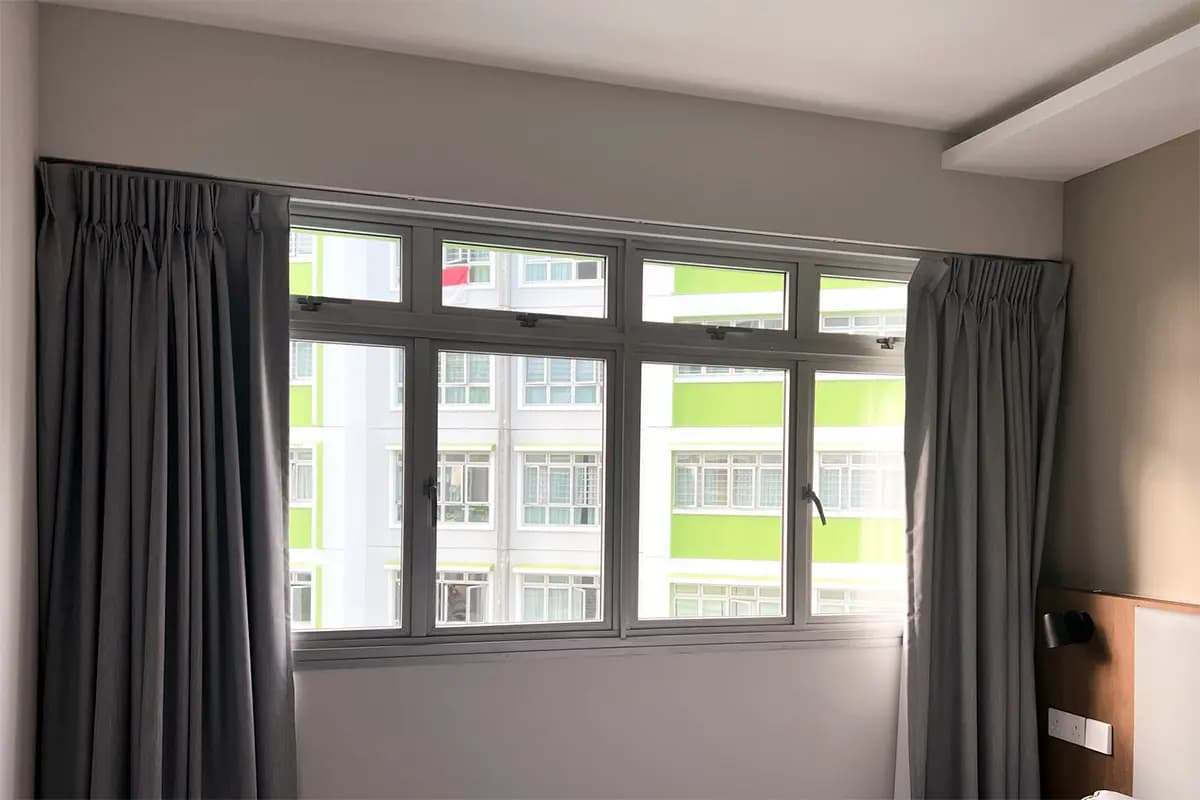
Daylight, glare, daytime privacy, after-dark privacy and sleep are different outcomes. A living room may need only a sheer day curtain to soften the view during brighter hours. A bedroom often benefits from two separate layers: a sheer for the day and a dimout or blackout curtain for night.
| Room | Useful starting point | Check before deciding |
|---|---|---|
| Living or dining | Sheer curtain, light-filtering roller or layered curtains | Neighbouring views, television glare, balcony access and fabric stack |
| Bedroom | Sheer plus dimout or blackout, or an opaque roller blind | Edge gaps, air-conditioning airflow, bed position and night privacy |
| Study | Screen or light-filtering roller blind | Monitor direction, direct sun, window opening and outward view |
| Service yard | Compact blind where the environment and clearances suit it | Moisture, cleaning, ventilation, doors and laundry movement |
These are starting points rather than fixed rules. Use the treatment finder to create a shortlist, then check it against the actual room.
3. Reserve enough stack-back
Curtains do not disappear when open. Their folds stack at one side, both sides or wherever the track sends them. If the stack sits over the glazing, it reduces the clear view and may obstruct an opening window. More fabric, fuller headings and layered tracks generally need more space.
Decide whether the curtain should split in the centre or travel to one side. Check for wall space, switches, carpentry and door movement at the intended stack position. For blinds, reserve space above the window for the roll, brackets, headrail or motor rather than side stack-back.
4. Coordinate tracks, pelmets and false ceilings
A pelmet or curtain pocket can conceal tracks and reduce some light from above, but it must have enough depth for each track, fabric fold and motor in the design. The visible plasterboard surface should not be assumed to be the supporting structure for a loaded curtain track.
Tell the ceiling or carpentry contractor where the treatment is intended to run and ask the curtain supplier what support and clearance the selected system needs. The false-ceiling mounting guide explains the coordination questions in more detail.
5. Leave room for future motorisation
If motorised curtains are a possibility, discuss them before electrical and ceiling work is final. Motor position, compatible power provision, service access, track dimensions, load and control method are related decisions. A generic socket or cable position should not be prescribed before the actual motor system is known.
Read the smart-curtain power and wiring guide and coordinate the confirmed manufacturer requirements with the relevant renovation professionals.
6. Use a sensible decision sequence
- Before detailed design: choose curtains, blinds or a mix and identify which rooms need one or two layers.
- Before ceiling and carpentry drawings: reserve track depth, stack-back, support and service access.
- Before electrical work: confirm whether motorisation is likely and select the system before finalising power details.
- Before quotation: bring plans, site photographs, room needs and a shortlist of fabric outcomes.
- Before fabrication: complete final site measurement and confirm finishes, controls and opening directions.
Common HDB planning mistakes
Leaving the curtain decision until after carpentry
A wardrobe, television console or window seat can consume the wall space where curtain fabric would otherwise stack. Show the intended treatment on the carpentry drawing so doors, drawers and curtains can move without competing for the same area.
Designing a pelmet before choosing the system
A single manual track, two layered tracks and a motorised arrangement do not occupy the same space. Confirm the intended system before the pelmet or ceiling pocket is finalised, and keep access to components that may need adjustment or service.
Treating an early quotation as final measurement
Plans and approximate dimensions can support a useful budget discussion. Fabrication should follow a final site measurement once the relevant ceilings, walls, floors and built-ins are in their confirmed condition.
What to bring to a showroom consultation
- The floor plan and any reflected-ceiling or carpentry drawings
- Clear photographs of each window and the wall on both sides
- Room use, glare concerns and privacy needs after dark
- Any planned pelmet, false ceiling, grille, built-in or motorisation
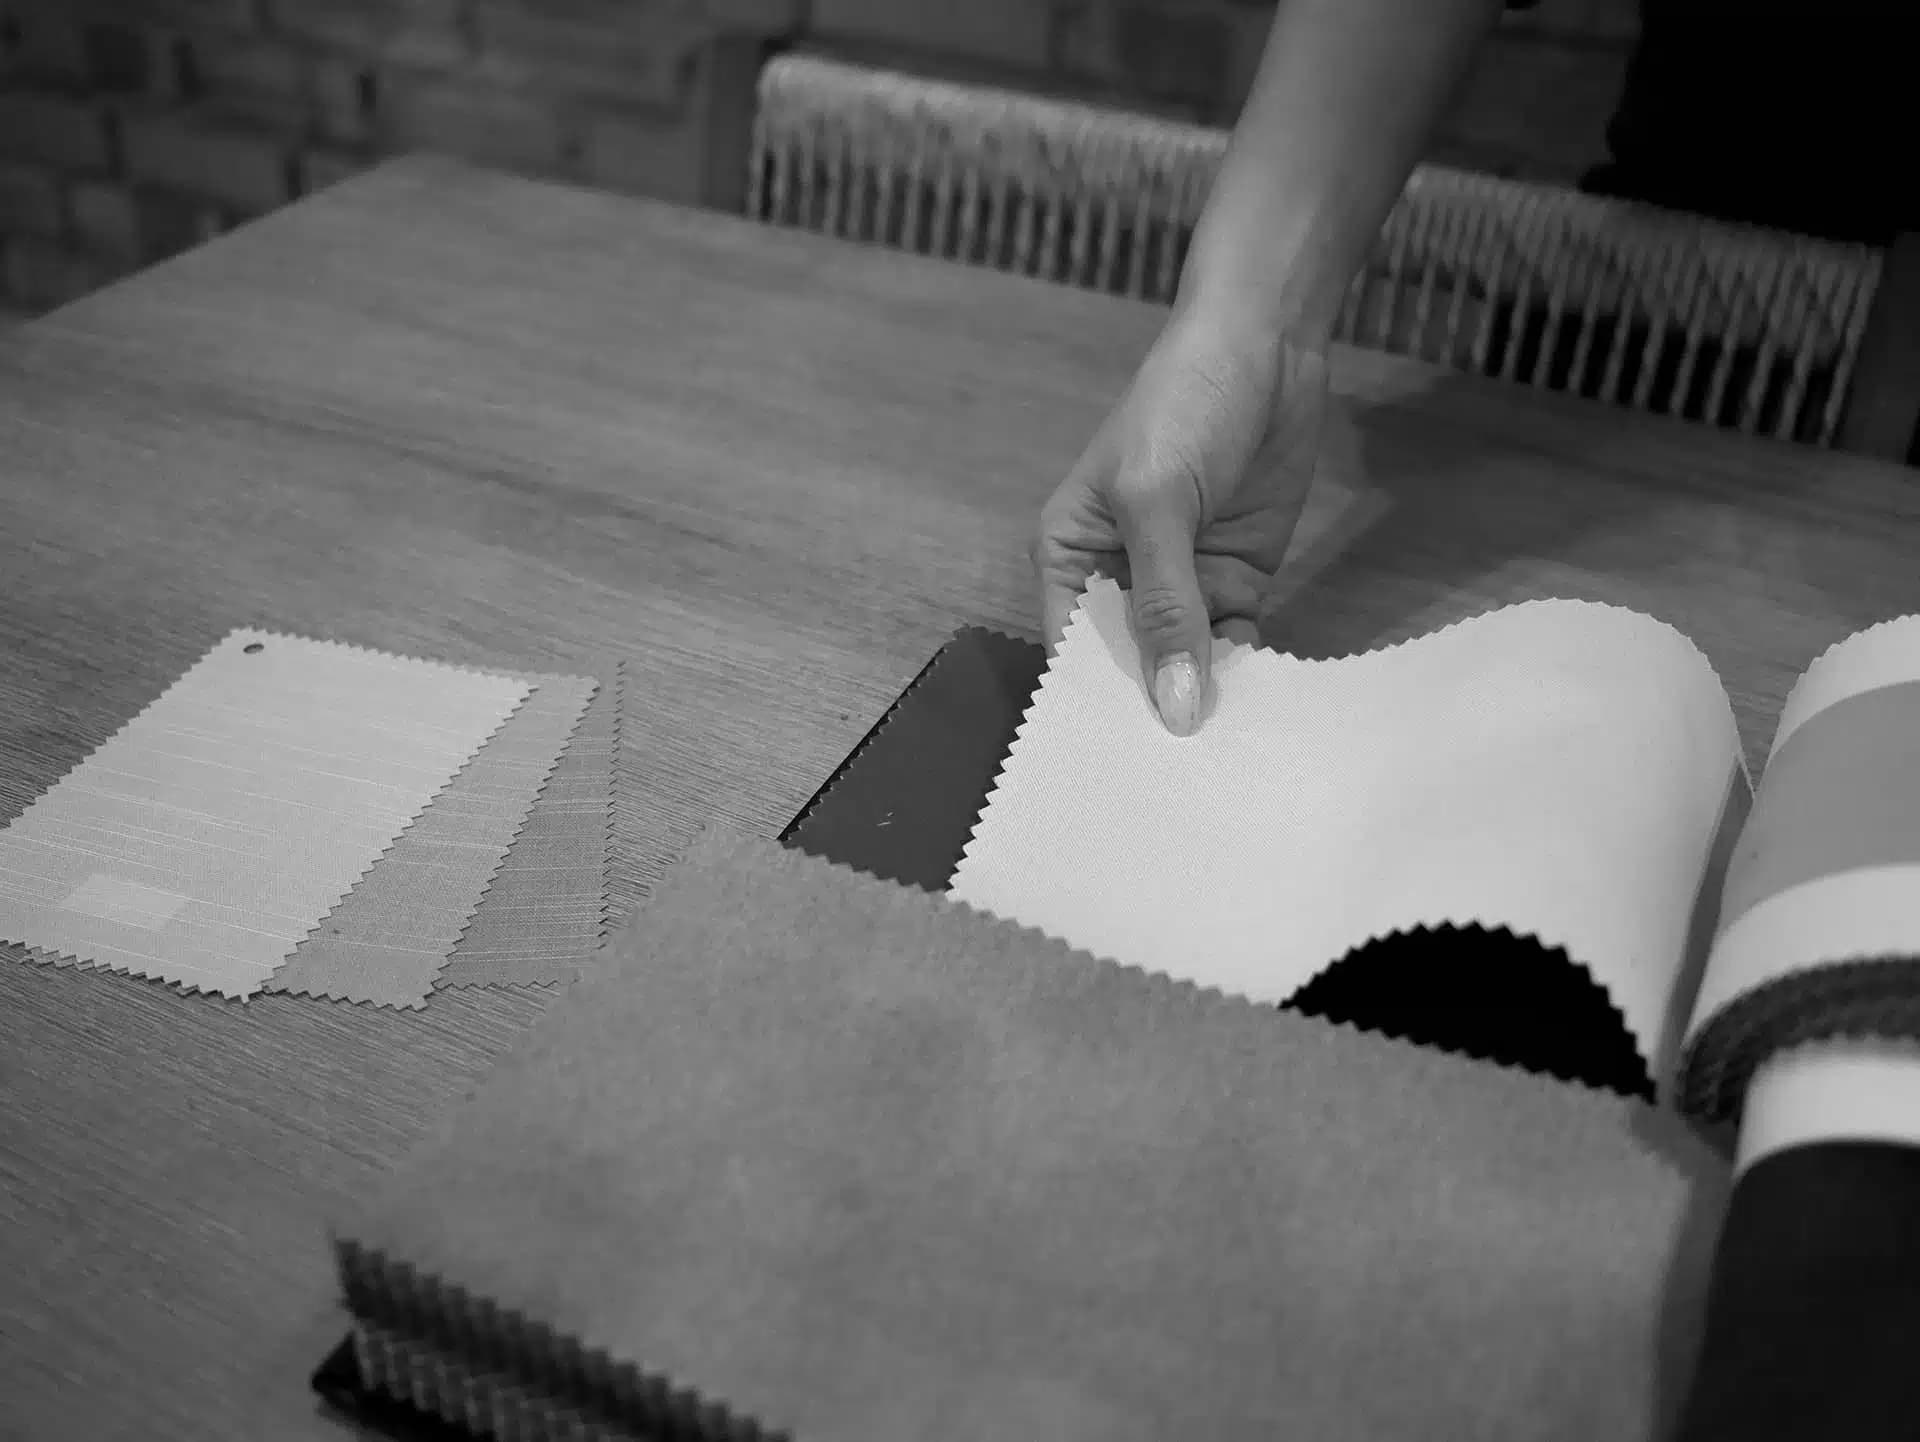
- Colours and material samples that need to work with the treatment
Early planning does not lock every decorative choice. It prevents the architecture from ruling out a treatment that would otherwise have worked well for the room.